Saturday, May 17, 2014

Palak Kofta

This dish is very special because the palak I used is organic and what more, it is from my own terrace garden :)

For the kofta:
Palak leaves - chopped and blanched in hot water
Boiled and mashed potatoes - 1 big
Grated ginger and garlic - 1 tsp
Red chilli powder and salt as per taste
Gram flour (besan) - 2 tbsp

Squeeze out water from palak. Mix with other ingredients and make a firm dough. If too dry, add a little water while kneading. If the dough is too watery, add more gram flour.


Make small balls and deep fry in oil until golden brown. Set aside.

For the gravy:
Onions - 1 big
Garlic - 6 to 8 cloves
Tomato puree - 2 cups
Curd - 2 tbsp
Milk - 1/4 cup
Turmeric powder, coriander powder, red chilli powder and salt - as per taste
Garam masala powder - 1 tsp
Fresh coriander leaves - finely chopped
Oil for frying


Coarsely grind the onion and garlic. Heat oil in a pan and fry the coarse paste on a high flame till all the water evaporates.
Continue to fry on medium high heat until it turns golden brown.
Add coriander, red chilli and turmeric powder and mix well
Add tomato puree and curd. Stir and fry till oil separates from the gravy.
Once the gravy thickens, add water as required. Cover with a lid and cook for few minutes.
Add garam masala powder and mix well.
Add milk and stir continuously to blend all the masala.
Once the gravy reaches the required consistency, add the deep fried koftas.
Turn of the heat and garnish with coriander leaves.

We had this with mooli (radish) paratha - the radish was a product of my OTG.

Friday, May 16, 2014

The little presents from my OTG

It has been 5 months since the idea of an organic terrace garden sprouted in the depths of my mind. The feelings I have right now as I write this post are so varied. The apprehensions and longing hopes when I sow a seed soon begin to fade away upon the first sighting of a green head poking out against a stark dark brown background.From that moment, the feeling of love and care that I feel towards my plant grows with the seedling. I am not ashamed to admit that I have come to see my plants as my babies. What is more, my son has begun to address them as "Your babies".

The joys of finding that a veggie is ready to be harvested or that fruit ready to be plucked off of the plant is second only to the joys of motherhood. In fact, I am increasingly inclined to think that gardening is another kind of motherhood!!

Watermelon in the making :)
Every time I go up to the terrace to tend to my plants I have a treasure waiting for me. I return home with the same joy as a child carrying a favorite toy would return from the toy store!! Beyond this, I am constantly learning by doing. Be it having more than two plants of a particular veggie or sieving the compost at the right time or figuring out ways to support climbing plants - it is enriching to learn from mistakes.

Freshly harvested carrot

Long sisters


Tuesday, March 25, 2014

Schezwan Sauce


I've always loved the tangy and pungent taste of Indo-Chinese delicacies. Be it spicy chilli paneer or piping hot gobi manchurian or Schzewan noodles that leaves you hot all over your face - I love them all!!
Considering the way the taste of different spices hits your taste buds so boldly, yet in a delicate sort of manner, I assumed that a whole lot of work goes into whipping up these dishes. Well, it turns out I was wrong!!

I've always felt that the noodles that we make at home lacks a certain something. I could never put my finger on it though. I was then quite taken aback to learn that coriander leaves are included in most Chinese sauces!!!

It is amazing how everyday-spices can be combined to make a mind-boggling, mouth-watering sauce!!

This is what you will need:

Half an onion - chopped finely (You can also use chopped onion stalks)
Ginger and garlic paste - 1 tbsp
Soya sauce - 1 tsp
Vinegar - 1 tsp
Red chillies - 4 to 6
Garlic cloves - 4
Tomato - 1 small
Water - 1 cup
Sugar - a pinch
Finely chopped coriander leaves -1 tbsp
Cornflour - 1 tbsp
Sesame oil - 1 tbsp


What you need to do:
Throw in the whole red chilies and garlic cloves into a cup of water. Boil for 5 to 7 minutes. Drain the water and set aside for later use.
Remove the stalk and grind the chilies and garlic along with tomato to make a fine paste.
Heat oil in a heavy pan. Saute ginger-garlic paste. Add onions and saute until slightly brown.
Add the paste, coriander leaves, vinegar and soya sauce.
Add drained water as per required consistency. Allow to boil for two minutes.
Make a paste of cornflour in water and add to the simmering sauce. Thrown in a pinch of sugar to remove the pungent taste.
Stir and allow to boil for another 2 minutes.

Schezwan Noodles - Using the sauce that I prepared


This sauce can be used to make different Indo-chinese dishes. By reducing the quantity of water, a thick paste results. This can be refrigerated and used for close to two weeks.


Tuesday, March 18, 2014

Nature - the best teacher

Whoever said 'nature is the best teacher' was damn right!! The things I have learned about gardening in the last three months are worth more than years of college education in botany. My misconception about a garden being some odd plants that need daily watering and no other care has been completely annihilated!! But be warned, that I am still learning a lot about gardening and have much more that I want to research. I don't even feel I know enough to call my self a novice gardener!!


This post is to list some of the things that caring for and nurturing a terrace garden has taught me. In fact, many of these practical lessons have made me feel ashamed because I have just thrown my college education in biology out the window. Many a times, I have said the phrase "Of course, why didn't I think of this?"

Throwing a bunch of seeds into a pot will not ensure you get a good yield of plants. This is the deadliest and most sinful mistake any gardener can commit. I have done it. But learned not to do it through emotionally painful lessons. Each seed will sprout into a separate plant. Some may never sprout. I lost my spinach plants to this mistake. It was depressing. They were ALL doing so well until ALL of them drooped and wilted. It was the most heart wrenching experience - overcrowding and fight for light and nutrients claimed my greens.


Merely watering plants will not give you any results. Every alternate weekend I continue to turn up the top soil and add fresh compost and supplement the soil with egg shell powder and 'panchagavya'. I carefully examine the soil surface to pull out weeds. I have also been able to figure out that the greens like spinach and mint prefer partial shade.

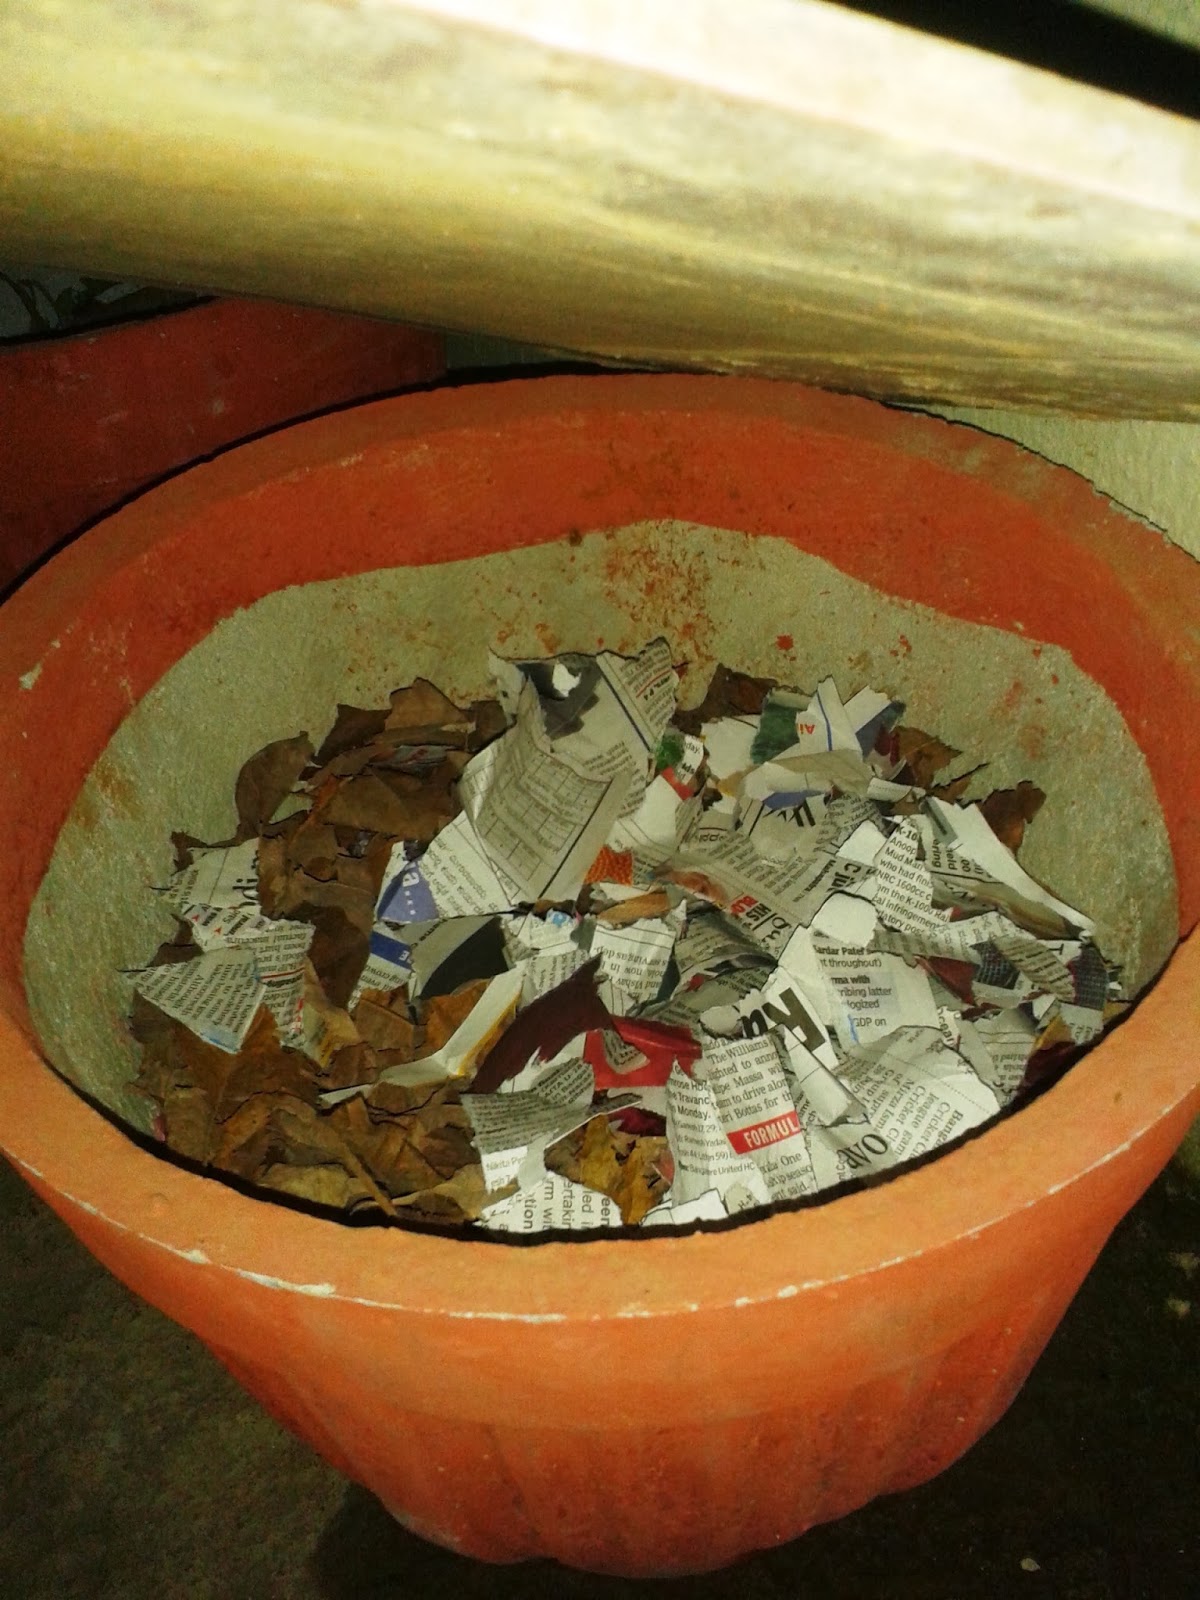
I am also using crushed dry leaves to protect the potted soil from drying up in the intense heat that Bangalore is beginning to see. This was how I lost my carrot seedlings initially. I am also able to judge how much water each plant needs.


Above all, gardening has taught me to be patient, has taught me to segregate waste, learn to be disciplined in following the process of composting.

I have had my first harvest of okra, coriander, fenugreek and spinach. Hopefully with a harvest of tomatoes, onions and beans, I hope to reach out to my neighbours to educate them about composting and benefits of organic vegetables.

Friday, January 17, 2014

Green - The most refreshing colour

The new year saw me going out to Russel Market to buy different seeds - spinach, carrot, onions, peas so on. I also had seeds of double beans and green chilli that I had saved at home. I was very skeptical yet excited about the whole thing. With complete gusto, mom and I prepared the soil by mixing red sand and vermi-compost that I had procured from a local nursery. We set up different pots and sowed the seeds.

I remember thinking that this was going to fail very badly. And I couldn't help looking into the pot every few hours!! Then, I shook myself up mentally and told myself that if none of the seeds had sprouted in two weeks, I would consider myself unlucky!! Today, I feel lucky to know that I am indeed blessed with green fingers. 

All the seeds, with the exception of brinjal have sprouted. What makes me most happy is the fact that the chilli seeds I saved at home have sprouted as well. 
I watched a video about growing mint from market-bought mint sprigs. I placed one sprig of mint in a glass jar containing water. I changed the water every two days for a week and then I completely forgot about it. When I looked at the jar the day before yesterday, I noticed that sprig had developed numerous roots. I have now transplanted it into a pot. 

From this experience, I can vouch that no colour can be more refreshing than the delicate green colour of new shoots emerging against a brown background!!!

Picture taken on 2nd Jan, 2014

Picture taken on 17th Jan, 2014

Friday, January 3, 2014

Vegetable Upma

"Amma, the upma is very yummy...I'm wondering who made it"...This is the statement that Surya made while eating upma last evening. What better praise than the one received from my little boy!!

As a south Indian, I've detested rava upma for as long as I remember. Well, there are exceptions to everything in this world. Vegetable rava upma is one of those exceptions. Hot and spicy, served with coconut chutney, it is a dish that I have seen being served as a breakfast or snack option during weddings and other functions. Yet, extremely easy and quick to make - no wonder it is a staple dish cooked by most south Indians!!

Ingredients:
Finely chopped veggies of your choice - 1 cup
Finely slit onions - 3 tbsp
Chopped tomatoes - 3 tbsp
Rava roasted in a teaspoon of ghee - 2 cups
Water for boiling - 2 to 3 cups

For seasoning:
Urad dal, mustard seeds, channa dal - A tsp each
Oil as required

To grind without water:
One tomato
Green chillies as per taste
Ginger - a generous piece
Coriander leaves
Curry leaves


Method:
  • Heat oil in a kadai and temper the ingredients listed under 'Seasoning'
  • Add the onions and saute until it becomes translucent
  • Add the chopped tomato and ground paste and fry for a few minutes
  • Toss in the veggies and keep it covered for a few minutes
  • Then add salt and turmeric powder
  • Add water. (Adjust amount of water as per consistency of upma required)
  • Allow the water to boil.
  • Then add the roasted rava while continuously stirring the water. Else lumps will be formed.
  • Keep the vessel covered with a plate. 
  • Finally, add a tbsp of ghee and mix well. Serve with coconut chutney.


Saturday, December 28, 2013

How it all began...

Regardless of the cuisine, good food has always appealed to me. I must admit that I took healthy and tasty food for granted. Before marriage the only reason I'd find to go into the kitchen was to get a plate out or check out what my mom was making for lunch or dinner. I never imagined that one day I'd be planning what to cook each day, let alone cook!!

About a couple of weeks before my wedding, I was freaking out since I had no idea what goes into making an everyday meal!! My grand-mother sat me down and let me write down recipes for a staple south-indian meal. That was the beginning. I did goof-up initially - adding too much salt or making too much for two people. Now, I can confidently say that I have come a long way. My siblings have told me several times that they find it difficult to differentiate between the food cooked by my mom and me!! That is a big compliment as well as a motivator to get better at cooking.


I know there are loads of food blogs out on the web. Yet, I started my very own blog becauseit will serve as an encouragement and keep my interest in cooking very alive. In recent times, I've started thinking about using home grown vegetables and spices. I am reading and watching videos on terrace gardening. It will be nice to implement these ideas. And I'm sure I will do so!!!

Kitchen Garden

As a child, I vaguely remember questioning my mother if the vegetables she bought from the market could be grown in our own home. This curiosity has been buried deep inside me for all these years. Conveniently blame it on high priority tasks such as studying for a respectable degree, working for a reputable firm, settling down and so on.

Of late, the idea of vegetables grown at home has been nagging me quite a bit. It all started with a staff meeting in school. My colleague brought up the idea of composting kitchen waste. Ever since hearing her idea, I have been dying to try it at home. It took some time to help my family understand the need for reducing waste that leaves our house each morning. It took even more convincing to actually put a plan into place and follow through. Added to this, my sister has been constantly bringing up the topic of terrace gardening.

28th Dec, 2013. 
I feel happy to say that today we have moved a step closer to saving our planet. We have set up a pot for composting and the first batch of kitchen waste has gone into it and as I type I feel glad knowing that tiny little buggers are hard at work :) !!


We have planted fenugreek and cilantro seeds in tiny paper cups. Once they have sprouted, I plan to move them to earthen pots. Soaked bean and chickpea seeds sit over our chimney top. Once they germinate, they will go right into the pots. I am also trying to get tomato and chilli seeds to germinate.

I am aware it is a very modest beginning. Given that we all leave home for work or college and the fact that I am not sure of the time and effort that needs to be invested, I feel that a modest beginning will suffice for now. However, I am sure our kitchen garden will grow in variety and size. I eagerly wait for that day with fingers crossed!! :)

Friday, October 26, 2012

Dal Makhani

It was at my best friend's place that I had dal makhani for the very first time. It was love at first taste!! Since then, this is a must have when ever I eat out. The best thing is the way the flavour of the butter hits the taste buds amidst all the spices and cooked dal. It just makes me go oooooohhh!!! :)

After all these years, it was only yesterday that I got a chance to make this delicious dal at home. Mom said it was as good as the dal she had eaten in restaurants :) That surely made my day!!!

To make this extremely rich dal, here's what you will need:
Rajma (Kidney beans) - 1/2 cup
Whole black urad dal - 1/2 cup
Butter - 1/2 cup
Fresh cream - 1/4 cup
Coriander powder - 2 tbsp
Garam Masala powder - 1/2 tsp
Red chilli powder - 1/2 tsp
Kasoori methi - 1/2 tbsp
Ginger and garlic paste - 3 tbsp
Tomato, pureed - 1 cup
Cumin seeds - 1/2 tsp
Salt to taste

Without further ado:
> Soak rajma and urad dal in water overnight. Pressure cook.
> Heat oil in a pan and temper cumin seeds
>Add ginger-garlic paste and tomato puree. Cover the pan with a lid and allow to boil on low flame
> After about 10 minutes, add red chilli powder, garam masala powder and coriander powder. Blend and then add butter. 
> Cover and allow to simmer for about 15 minutes. 
> Add the dal along with the water it was cooked in. Mix well and allow to simmer on a low flame. 
> Now and then, stir the mixture so that the dal is not burnt. 
> Add kasoori methi powder and fresh cream. Mix well. Cover and allow to simmer for few minutes. 


Serving suggestions: Tastes great with roti or rice. Onion rings with a hint of lemon juice enhances the taste a million times.

Monday, October 1, 2012

Baby Corn Manchurian

Who said teaching is easy?!!!  Okay, okay!! Enough of my melodrama. After a long day of disciplining, corrections and a bit of teaching, all I wish for is a few golden moments of pure silence and something to silence that constant rumble emanating from my tummy. Most days, I walk into my house asking mom my staple question "What's there to eat?" One look at her tired face is enough to melt my heart and settle for a steaming cup of tea or coffee. Today was different though. I had to have something crunchy and spicy. So there you have it - my inspiration to make baby corn manchurian.

It was irritating  to listen to that rrrrrrr....grrrrrr....rrrrrrrrr!!! But it was well worth the wait and effort. 


> Heat some oil in a pan deep frying
> Slit the baby corns into diagonal and long slices
> Make a slightly runny batter by mixing 2 tbsp of rice flour, 2 tbsp of refined flour (maida), ginger-garlic-chilli paste, salt, turmeric and water.
> Coat the sliced baby corn with this paste and deep fry in oil and set aside
> Heat a tbsp of oil in a wok. When it is hot add chopped garlic, green chilli and ginger . Saute for a few minutes.
> Add sliced onions and green pepper and saute. Ensure that their crunchiness is retained
> Then add a tsp of white vinegar, a tsp of sugar, a tsp each of soya sauce and tomato sauce. Fry on a high flame
> Toss in the fried baby corn and mix on a high flame along with a pinch of salt
> Garnish with finely chopped fresh coriander leaves and serve steaming hot with tomato ketchup!

Wednesday, May 30, 2012

Paneer Pulao

We spend weekend mid-mornings passively refusing to step into the kitchen to fix lunch. Obviously each one of us has a valid reason for not wanting to get into the kitchen. Well, with a mind that never ever stops dwelling on yummy food, I am always the first to lose this battle of sorts!! This Saturday was no different.

I wanted to make something that would be done in a jiffy, but taste delicious. With loads of paneer lying around in the fridge, the easiest option was to make paneer pulao. And so I did.

I fried the paneer cubes in oil and dunked them in warm water to keep them tender until I finally used them.

This is how I made the pulao:
1. Heat oil and pop a couple of cloves, cardamom and a small piece of cinnamon.
2. Temper cumin seeds.
3. Fry slit onions, ginger-garlic paste and slit green chillies. Add a cup of rice and fry until the moisture is absorbed.
4. Add chopped coriander and mint leaves, along with a handful of peas.
5. Add salt as per taste, a teaspoon of lemon extract and enough water.
6. Pressure cook the rice.
7. Allow the rice to come to room temperature and gently mix in the fried paneer.
 
Voila! Paneer pulao is ready within no time!!


Saturday, May 5, 2012

Pasta and tomato sauce

Familiarity does breed contempt! I was so fed up with the white sauce that I always make when we have a pasta meal. I tried making the red sauce several weeks ago and was quite pleased with the tangy and spicy taste.
Been so busy with so many things and hadn't really give much thought to blogging up until now. It took quite a while to make the sauce and pasta but the result was a welcome change.

I boiled two cups of pasta (macaroni and fusilli) with a teaspoon of salt and a dash of olive oil. I drained the water and let cool water run over the pasta so it wouldn't stick together.

This is how I made the sauce:
1. Mix a tbsp of maida or cornflour in 1/4 cup of water and set aside.
2. Heal a tbsp of olive oil in a pan, add broken red chilies, cumin seeds, carom seeds, basil leaves and oregano.
3. Add chopped vegetables of choice (carrots, capsicum, beans) and saute until soft.
4. Add about 2 cups of  finely chopped tomatoes and allow it to become pulpy. Simmer for few minutes.
5. Add the maida paste along with sugar and salt. Allow the sauce to boil and come to required consistency.


Pour the sauce over the cooked pasta and serve hot with a dollop of melted cheese on the top.


Sunday, February 26, 2012

Plain Cake with Chocolate Icing

Happy Birthday to my dearest sister! :)
But, are we really happy? That thrilling feeling is missing and we seem to be moving around as if in a daze. It is so weird!! I thought we were all grown up now and can handle mom being out of town for a couple of days. Alas, no! We miss her big time and can't wait for tomorrow. The real icing on the cake which turned out so well would have been mom being here with us on my sister's special day.


So bored of baking the same old chocolate cake. Being a special day, the cake ought to be special too. Something I have never tried before. In fact, scared to try and see it fail. There has to be a first time for everything. So here is my first cake, complete with layers and icing.

For the cake:
(Split ingredients in two portions to make two cakes)
Refined flour: 1 cup
Whole wheat flour: 1 cup
Baking powder: 1 1/2 tsp
Cooking soda: 1/2 tsp
Eggs: 2
Sugar: 2 cups
Butter: 1 cup

To make one cake, sift half cup of refined flour, half cup of whole wheat flour, 3/4th tsp baking powder, 1/4 tsp cooking soda and set aside.
Grease a cake tin and dust it with flour.
In a mixing bowl, combine 1 cup sugar and 1/2 cup butter to form a fluffy mixture. Beat in one egg until frothy.
Add the flour mixture a little at a time and fold it in along with the egg mixture.
Pour the cake mixture into the greased tin. Bake it.

I used a pressure cooker. For instructions on baking in a pressure cooker click here.

For the chocolate icing:
Icing sugar: 1/2 cup (I powdered 1/2 cup of granulated sugar and added 1/2 tsp of corn flour)
Cocoa powder: 2 tbsp
Butter: 2 tbsp
Water: 2 tbsp

Warm water and set aside.
Sift icing sugar and cocoa powder. 
Melt 2 tbsp of butter in a mixing bowl and remove from fire.
Add the sugar and cocoa mixture a little at a time and mix well. Add a little water if too thick.
Leave in the refrigerator until the cakes have cooled down completely.

Spread a thick layer of icing on the one side of a cake. Place the other cake over this one such that the icing forms the middle layer between the two cake layers. Spread the remaining icing on the top surface and sides of  the cake. 


Saturday, February 25, 2012

Corn Kofta Curry

I have always loved kofta dishes, especially malai kofta. We had a big packet of corn at home and were quite bored of the usual boiled corn. My sister suggested we should try something new. Since we were all at home when she made this happy suggestion, I looked in the many recipe books I have and came across a recipe for Corn Kofta Curry. It looked simple enough to make and with loads of encouragement (or should I call it greed? ;) ) from my sister I got down to making the amazingly delicious dish which we enjoyed with hot phulkas.

To make the kofta: 
Pressure cook 2 cups of corn and 2 big potatoes. When cool, mash them coarsely.
Add 1/2 cup of gram flour, a tsp of green chilli and ginger paste, salt, 1/2 tsp of pepper and cumin powder, 1/4 tsp of turmeric powder and a tbsp of curd.
Mix well and make lemon sized balls and deep fry in oil until the koftas turn golden brown.


To make the gravy:
Grind 3 onions into a coarse paste. Heat oil in a pan and fry the ground onion along with a 1/2 tbsp of ginger-garlic paste.
Then add 2 tsp of coriander powder, 1/2 tsp of cumin powder, 1/4 tsp of garam masala, 1 tsp of red chilli powder, 1/4 tsp of sugar along with a tsp of butter. Fry well and then add tomato paste. Fry until the oil leaves the sides of the pan.
Add salt and enough water. Boil for few minutes and then pour in a tbsp of cashew paste. Allow to simmer.

In a serving bowl, arrange the fried koftas and pour the gravy over it. Garnish with beaten fresh cream and finely chopped coriander leaves. Serve piping hot with rotis.

Saturday, February 4, 2012

Methi Pulav

With most of us working and rushing to reach our respective workplace on time, it is no wonder that we want easy to cook food. I came across this in one of my recipe books and tried it out this week. It is extremely easy to make and tastes delicious. Best part: no need for any grinding!!
I could hardly wait for lunch break in order to have a spoonful of rice to check how it had turned out. It was well worth the wait!! I enjoyed a simple and yummy lunch of methi Pulav with salted curds.

Ingredients:
Methi leaves - 2 cups, washed well and strained
Rice - 1 cup
Water - 2 cups
Onion - 2 big, sliced
Carrots - 2, diced
Sambhar powder - 1 tbsp
Garam masala powder - 1/4 tsp
Garlic paste - 1 tbsp
Cloves - 3
Cinnamon - 1'' piece
Green chillies - 2, chopped finely
Lemon juice - 2 tbsp
Oil - 2 tbsp


Method:
1. Heat oil in a pressure cooker pan. Pop cloves and cinnamon. Fry chillies, garlic and onion until golden brown
2. Add carrots and whole methi leaves. Fry until the moisture is absorbed. [Do not chop the leaves, else the rice will turn out bitter]
3. Add sambhar powder and garam masala powder. Fry for few minutes.
4. Add rice and fry for 2 minutes. Add salt and water. Close the lid and pressure cook for 10 minutes.
5. After cooking add lemon juice and mix well. Serve hot with onion raitha.

Wednesday, December 14, 2011

Malai Kulfi

As a kid, I would always tag along behind my older cousins and found myself in eateries they normally frequented. One such eatery was called Maheshwari Chaat Shop.
I don't know about the chaats (I still remember how my cousins would oooh and aaah over those chaats), but I can tell you, I am yet to find a place that can come as close to matching the malai and kesar kulfi that was served by Maheshwari Chaat Shop. Sadly, they closed down several years ago :(

I have a book in which I make note of recipes that I should try someday. I was leafing through this book yesterday and I came across a recipe for malai kulfi, I had noted down almost 2 years ago. I know I can never imitate the yummy kulfi I enjoyed as a child. Nevertheless, I decided to give it a try.
Boiling and reducing the quantity of milk takes ages. At one point I even considered abandoning my plan. Now, after having eaten a spoonful of kulfi I made, I am glad I did not follow my stupid spur-of-the moment thought.

I can't resist sweets and ice creams even a little. I had this in mind and began making the kulfi after dinner so that I would be asleep when it was setting in the freezer!!!

Ingredients:
Milk -1 1/2 ltr
Condensed Milk - 1/2 tin
Sugar - 1 cup
Cardamom powder - 1 tsp
Citric acid powder - 1/4 tsp
Almonds - 2 tbsp, coarsely crushed


> In a thick-bottomed vessel bring milk to a boil and add sugar. Allow to simmer and bring down the volume to 3/4th its original. Stir intermittently to avoid the milk burning at the bottom of the vessel.
> Split the milk into two portions. In one half, add citric acid powder, pinch by pinch, until the milk curdles. Beat well.
> Add remaining milk, condensed milk and cardamom powder. Throw in the crushed almonds. Mix well and pour into moulds and freeze overnight. I did not have kulfi moulds. I used ice trays.


> To serve, dip the moulds in water and slightly rap the mould to let the kulfi slip out. 


Sunday, December 11, 2011

Carrot and Egg Omelette

I hail from a family of staunch vegetarians. So, I was a little surprised to learn that it was my father who introduced me to the habit of eating eggs when I was just a little girl. I continuously go through phases of thriving on eggs as well as loathing eggs. Since realizing that eggs can be cooked in innumerable different ways I have made it a point to make eggs a regular part of my diet. My sister who recently turned an eggitarian, is always encouraging me to try making different egg dishes.

Last night, we decided to make omelettes. When I was halfway through whipping the eggs, I realized that we had run out of onions. I used carrots instead. I felt pretty happy to see my sister enjoying her dinner of carrot omelette.

Ingredients:
Eggs - 2
Carrot - 1, grated
Green chilli - 1, minced
Black pepper powder - 1/2 tsp
Ginger and garlic paste - 1/2 tsp
Corriander leaves - 1 tbsp, chopped
Turmeric powder - A pinch
Dosa or Idly batter - 1 ladle
Salt to taste
Oil - 1 tbsp


Method:
1. Break the eggs and transfer the white and yolk into a bowl. Whisk briskly until slightly frothy.

2. Add the grated carrots and other ingredients and mix well to form a batter.

3. Heat a pan and spread a little oil. Pour a ladle full of egg mixture and spread the mixture.

4. Allow it to brown on the underside before flipping it over. Cook the other side as well.

5. Serve hot with tomato ketchup.


Sunday, December 4, 2011

Sweetilicious Banana

Cooking banana is something I cannot stand. I get nauseous with the very thought. Since there are exceptions to every rule, I love this dish and am always ready to dig in. I don't know what this dish is officially called but I call it Nendran pazham sweet. An aunt who hails from Kerala made it very often for me and I had no other thoughts while I relished the sweet. However, when I made some today and was eating the piping hot sweet, my sister happened to wonder if it would taste good with ice-cream. Well, that is exactly what I am going to try during the week. Ooooo, can't wait!!


Ingredients:
Nendran banana - 1, ripe
Ghee - 2 tbsp
Sugar - 3 tbsp

Method:
1. Peal and chop the banana in to small pieces.
2. Heat ghee in a pan and fry the banana until golden brown. The banana will give off a very sweet aroma.
3. At this point, add sugar and mix well. Continue cooking until the sugar is caramelized.

I tried to look up the English and Scientific name for nendran banana, but in vain. Below, I have included a picture of this variety of banana, if you have never had a chance to see it before.


Friday, October 21, 2011

Bisi Bele Bath

I have never been fond of sambhar but love bisi bele bath even though the ingredients are similar. I know it is totally weird!! My mother exploited my preference and made bisi bele bath very often just so tamarind would be part of my regular diet.

Bisi bele bath is a dish that originates from Karnataka. As the name suggests it is a hot (bisi) mixture (bath) of dal (bele), rice and vegetables. 

We were each busy with some or the other work last Sunday and making lunch was definitely not on our minds. But when your stomach is growling constantly it is very hard to continue working. At about 3 in the afternoon I asked my mom what we were going to do for lunch. She asked me to chop vegetables so she could make bisi bele bath. What started as a mere helping turned out to be full-fledged cooking. I ended up making the whole dish since my mother was multi-tasking and I just did not have the heart to pull her out of her chores. It was almost 6 by the time we had our "lunch" but it was well worth the wait. I am really happy that my mom's cooking skills have rubbed off on me, at least a little ;)


Ingredients:
Rice - 2 cups
Toor Dal - 1/2 cup
Assorted vegetables - 1 cup
Onion and tomato - 2 tbsp each, chopped finely

Jeera - 1 tsp
Mustard - 1 tsp

Tamarind paste - 1 cup
Sambhar powder - 1 tbsp, heaped
Turmeric - 1/4 tsp
Salt to taste
Oil as required
Water - 6 to 8 cups

To be ground to a paste:
Channa dal - 1 tbsp
Dhania - 1 tbsp
Red chilies - 4
Clove - 1
Cinnamon - 1/2 inch piece
Fry the above in a little oil until golden brown and grind along with 1/2 cup of grated coconut and little water to make a paste.

For Garnishing:
Ghee - 1 tbsp
Cashew nuts - few, broken
Jeera - 1/2 tsp

Method:
1. Heat oil in a pressure cooker and pop the jeera and mustard. Fry the onion and tomato. Add other vegetables and saute for few minutes.
2. Add sambhar powder, turmeric powder and salt. Add washed and cleaned rice and dal. Pour the tamarind pasted. Add more than sufficient water.
3. Pressure cook and allow upto 4 whistles.
4. Once the cooker is ready to open, add the ground paste and allow to simmer for 5 minutes.
5. Finally heat ghee and pop jeera. Fry the cashew nuts untill golden brown. Pour this mixture over the bisi bele bath.


Raitha and boondhi make for a great accompaniment to this dish which is served piping hot.

Tuesday, October 4, 2011

Vegetable Hakka Noodles

Mention Chinese food to me and a mouth-watering, slightly oily and extremely colorful image of noodles springs to my mind. The noodles you get in the various Chinese restraunts around Bangalore are fine but dont really excite me. The noodles dished out by the local eatries spread all over Bangalore are simply mind-blowing as they make it spicy to suit the Indian taste bud. It has been several years since I had gobi manchurian and noodles in one of those eating joints - attribute it to having moved away from Bangalore for a few years and a sort of embarrassment about eating in a road-side eatry that is not so fussed about hygiene. But I must admit none of the so-called hygeniec restaurants around Bangalore can match the lip-smacking, finger-licking yummy hakka noodles that these eatries can dish out in flat two minutes. I decided to make some at home today and was extremely pleased with myself. I added tomatoes to give the noodles a more tangy taste. I did not have any spring onions but finely chopped spring onion leaves can be used to garnish the noodles and give it a crunchy feel.


This is what I used:
Boiled noodles - 2 cups
Vegetables (Carrot, Onion, Capsicum, Cabbage, Beans, Tomato) - 1 cup, sliced into thin long pieces
Red Chillies - 5
Green Chilli paste - 1 tsp
Garlic paste - 1 1/2 tsp
Oil - 2 tbsp
Dark Soy sauce - 1 1/2 tbsp
Plain vinegar - 1 tbsp
Black pepper powder - 1 tbsp
Salt to taste


This is how to make it:
Heat the oil in a pan and fry broken red chillies, green chilli paste and garlic paste for 1 minute.
Add the vegetables along with a pinch of salt and saute for 5 to 8 minutes.
Toss in the boiled, drained and cooled noodles.
Add soy sauce, vinegar, pepper powder and salt. Stir well on a high flame and serve hot with tomato ketchup.